-
Latest Version
-
Operating System
macOS 10.12 Sierra or later
-
User Rating
Click to vote -
Author / Product
-
Filename
CameraRaw_12_3.dmg
Sometimes latest versions of the software can cause issues when installed on older devices or devices running an older version of the operating system.
Software makers usually fix these issues but it can take them some time. What you can do in the meantime is to download and install an older version of Adobe Camera Raw 12.3.
For those interested in downloading the most recent release of Adobe Camera Raw for Mac or reading our review, simply click here.
All old versions distributed on our website are completely virus-free and available for download at no cost.
We would love to hear from you
If you have any questions or ideas that you want to share with us - head over to our Contact page and let us know. We value your feedback!
-
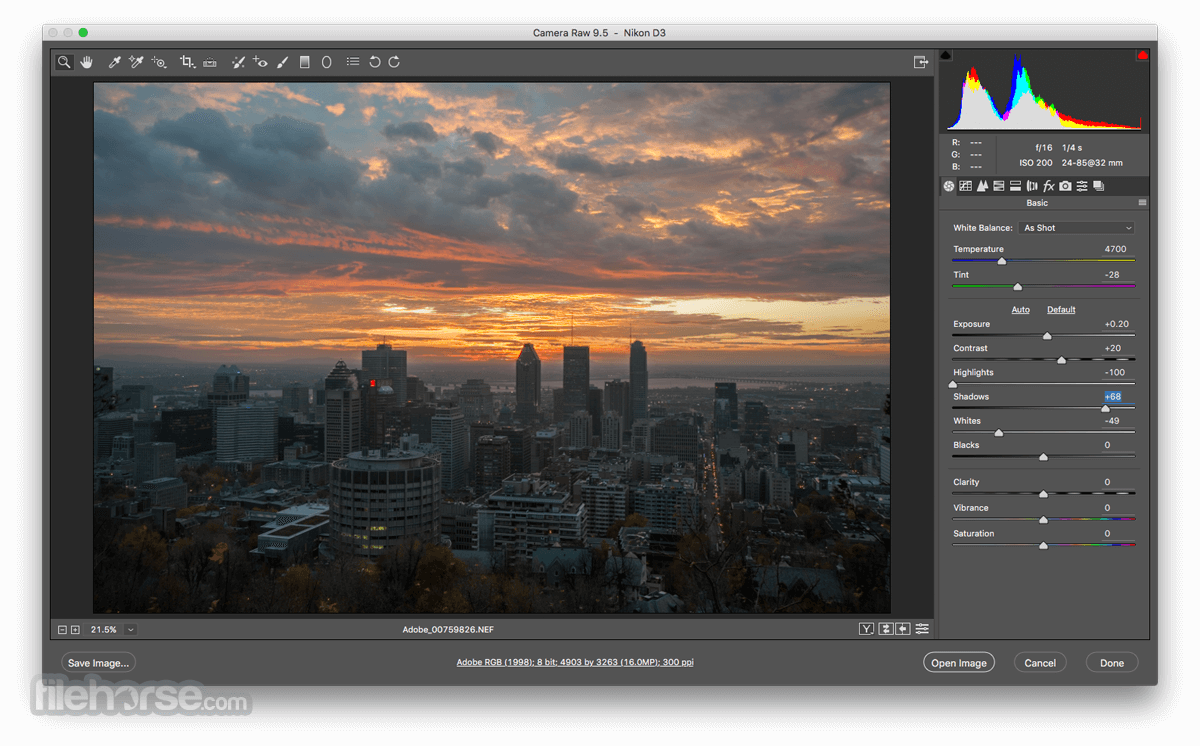
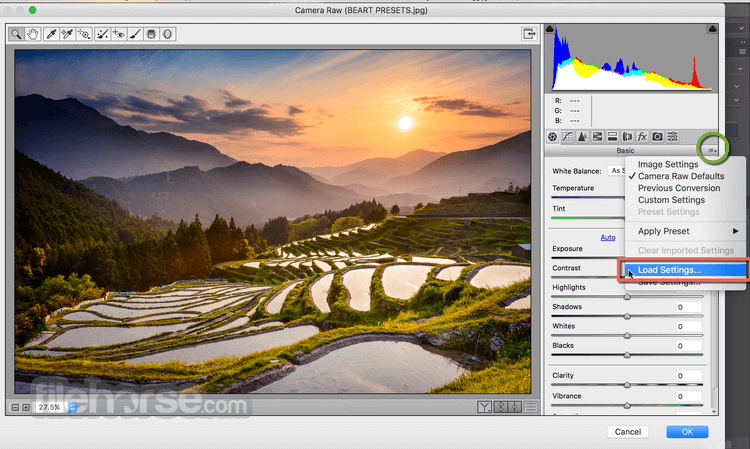
Adobe Camera Raw 12.3 Screenshots
The images below have been resized. Click on them to view the screenshots in full size.
-

-
-

-

What's new in this version:
Experience an enhanced user interface:
Panels:
- Easily navigate through and access edit, local adjustment, crop, spot removal, and other tools from the highly organized panels in the right
- Tools such as Adjustment Brush, Graduated Filter, and Radial Filter (local adjustment tools) are present in the right panel
- The Transform panel is renamed to Geometry
- The improved Curve panel allows you to switch between Parametric and Point Curve channels. You can make precise adjustments with input values for the point curve and the red, green, and blue channels.
Panorama/HDR Panorama merge:
The options to merge photos is now available in the context menu. To create a panorama or HDR panorama, follow these steps:
- Open your desired photos
- Select the photos you want to merge from the filmstrip. Press Control+A to select all the photos
- Control-click (macOS)/right-click (Windows) to access the options to merge
- Select from Merge to HDR, Merge to Panorama, and Merge to HDR Panorama
Filmstrip:
- You can now choose to have the filmstrip in the left panel (recommended for portraits) or the bottom panel (recommended for landscapes). To change the filmstrip orientation, do the following steps:
- Control-click (macOS)/right-click (Windows) the current filmstrip to access the context menu
- Select Filmstrip Orientation
- Choose between the options: Horizontal or Vertical
- In the same context menu, select Show Filename and Show Ratings and Color Labels to view the filenames and ratings of photos in the filmstrip
Keyboard shortcuts:
- The default keyboard shortcuts starting from Adobe Camera Raw version 12.3 are updated. For details, see Default keyboard shortcuts.
Apply ISO-adaptive presets:
- Easily create a custom preset that adapts to different ISO values. You can then set this preset as the default setting for raw photos in Preferences > Raw Defaults. For details, see Set raw defaults specific to ISO values.
Adjust hue locally:
- Access the Hue slider in the Adjustment Brush, Graduated Filter, and Radial Filter panels. This slider allows you to change colors in specific areas of the photo without affecting the rest of the photo. Ensure to select Fine Adjustment if you're adjusting skin tone for extremely precise hue adjustments.
Center crop overlay:
- While cropping a photo, it is common to align a part of the photo exactly in the center of the frame. This was difficult to precisely do with a 3x3 grid overlay. You now have an option to use a 2x2 grid overlay while cropping a photo. This centered crop overlay guides you to precisely crop the centre of the photo.
 OperaOpera 120.0 Build 5543.61
 PhotoshopAdobe Photoshop CC 2024 25.12
 CapCutCapCut 6.6.0
 BlueStacksBlueStacks Air 5.21.650
 Adobe AcrobatAdobe Acrobat Pro 2025.001.20566
 MacKeeperMacKeeper 7.0
 Hero WarsHero Wars - Online Action Game
 SemrushSemrush - Keyword Research Tool
 CleanMyMacCleanMyMac X 5.0.6
 4DDiG4DDiG Mac Data Recovery 5.2.2
Comments and User Reviews